Easy Crochet Baby Blanket for Beginners
This guide will walk you through creating a simple yet adorable baby blanket, perfect for beginners! We’ll use basic stitches and a repetitive pattern that’s easy to follow.
Materials You’ll Need:
- Yarn: Approximately 3-4 skeins of worsted weight (medium #4) yarn. Choose a soft, machine-washable blend like acrylic or a cotton blend, in colors appropriate for a baby.
- Crochet Hook: Size H/5.00mm or I/5.50mm, depending on your yarn and desired tension.
- Scissors
- Yarn Needle (or Tapestry Needle): For weaving in ends.
Abbreviations:
- ch: chain
- st(s): stitch(es)
- sc: single crochet
- dc: double crochet
- sk: skip
- ch-sp: chain space
Let’s Get Started!
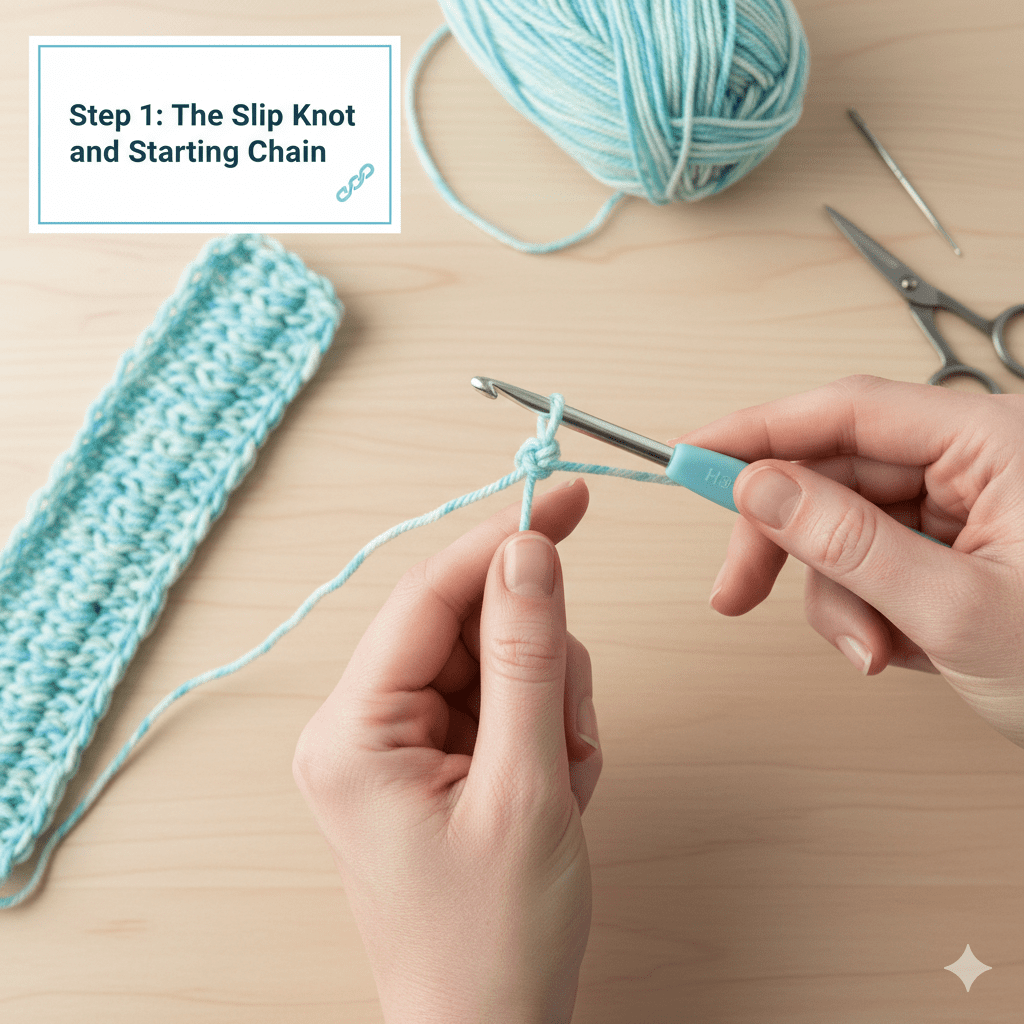
Step 1: The Slip Knot and Starting Chain
First, make a slip knot on your hook. Then, create a starting chain. For a baby blanket that’s approximately 30×35 inches, you’ll want to chain about 100-120 stitches. Make sure your chain is an even number. For this pattern, we’ll aim for a chain of 100. This will be the width of your blanket.
Tip: Don’t chain too tightly, or your first row will be difficult to work into.
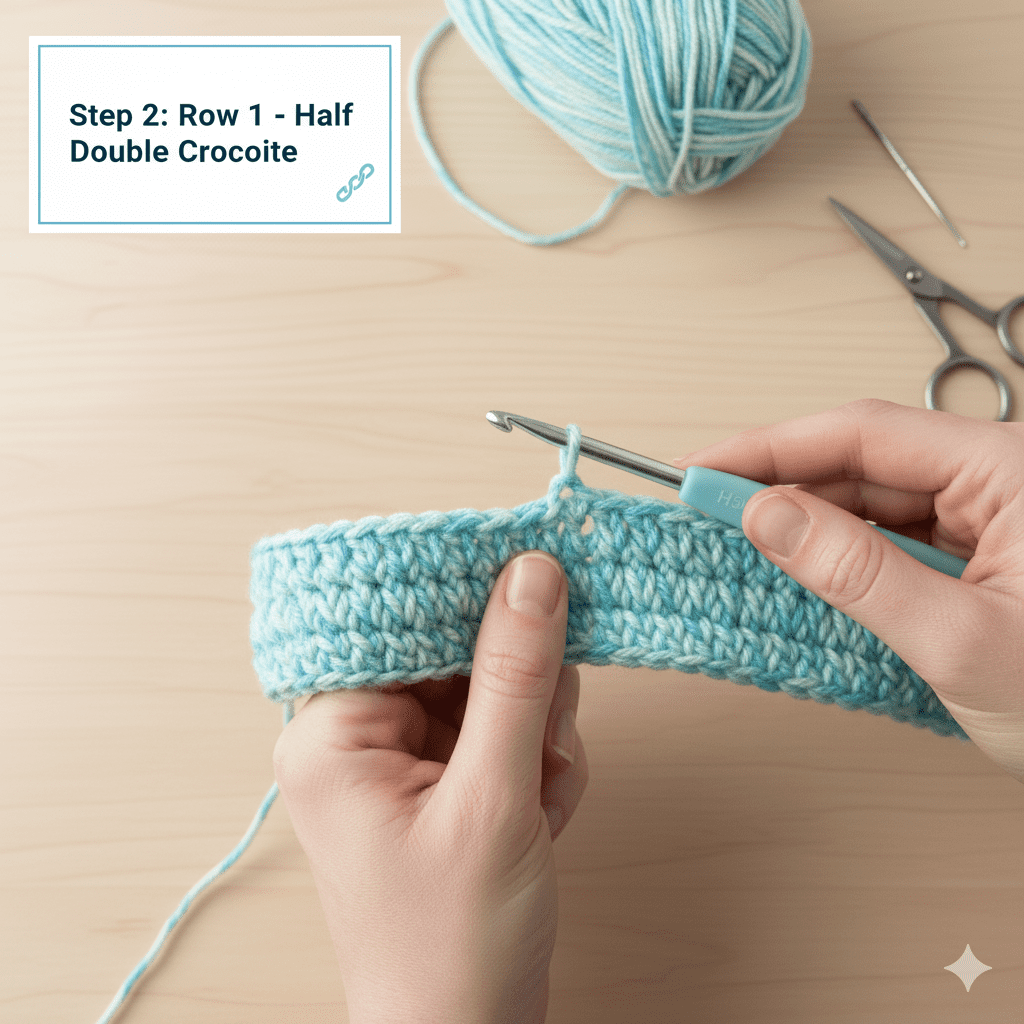
Step 2: Row 1 – Half Double Crochet
We’re going to use the half double crochet (hdc) for our first row to create a nice, even base.
- ch 2 (this counts as your first hdc).
- hdc into the 3rd chain from your hook.
- hdc in each chain across the row.
You should have 100 hdc stitches (including your starting ch 2).
Step 3: Row 2 – The “Granny Stripe” Pattern
This row begins our main pattern repeat. We’ll be working in sets of double crochets and chain spaces.
- ch 3 (this counts as your first dc).
- Turn your work.
- sk the next st.
- dc 3 times into the next stitch.
- ch 1.
- sk the next 3 sts.
- dc 3 times into the next stitch.
- ch 1.
Continue this pattern (sk 3, 3 dc in next st, ch 1) across the row. You’ll end the row with 3 dc in the second to last stitch, then ch 1, and dc in the very last stitch.
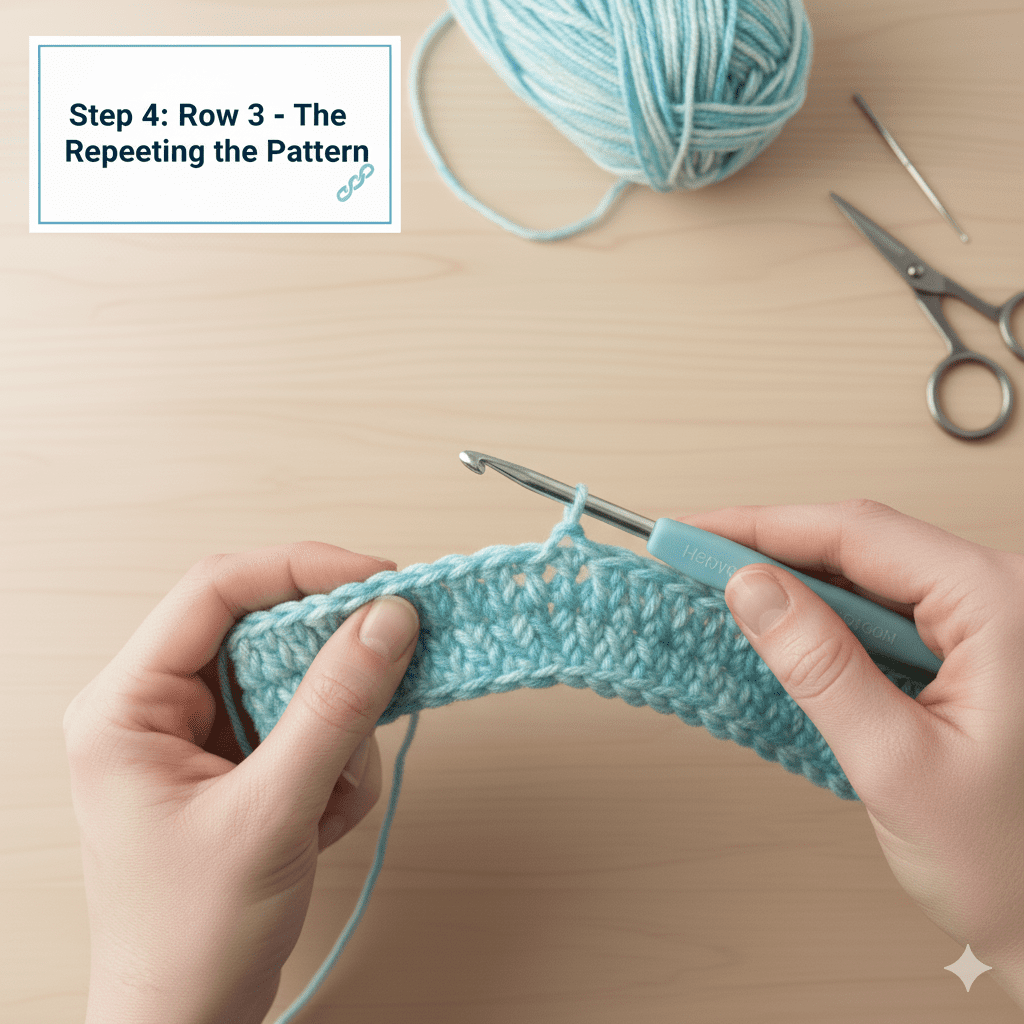
Step 4: Row 3 – Repeating the Pattern
Now we’ll continue the pattern by working into the chain spaces from the previous row.
- ch 3 (counts as first dc).
- Turn your work.
- dc 3 times into the first ch-1 space from the previous row.
- ch 1.
- dc 3 times into the next ch-1 space.
- ch 1.
Continue this pattern across the row. You will always work 3 dc into each ch-1 space. To finish the row, after working 3 dc into the last ch-1 space, ch 1, then dc into the top of the turning chain (the ch 3 from the beginning of the previous row).

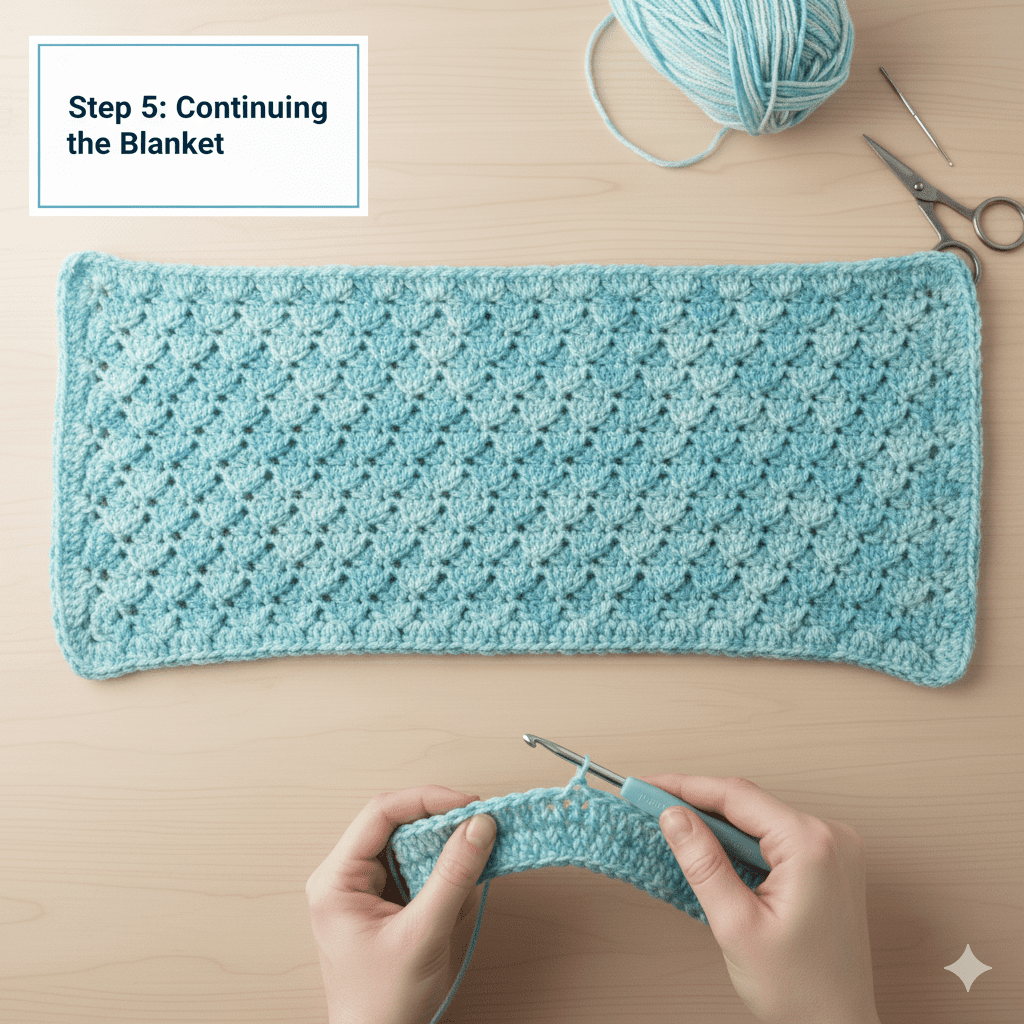
Step 5: Continuing the Blanket
Repeat Row 3 until your blanket reaches your desired length (approximately 35 inches, or until you run out of yarn, leaving enough for the border).
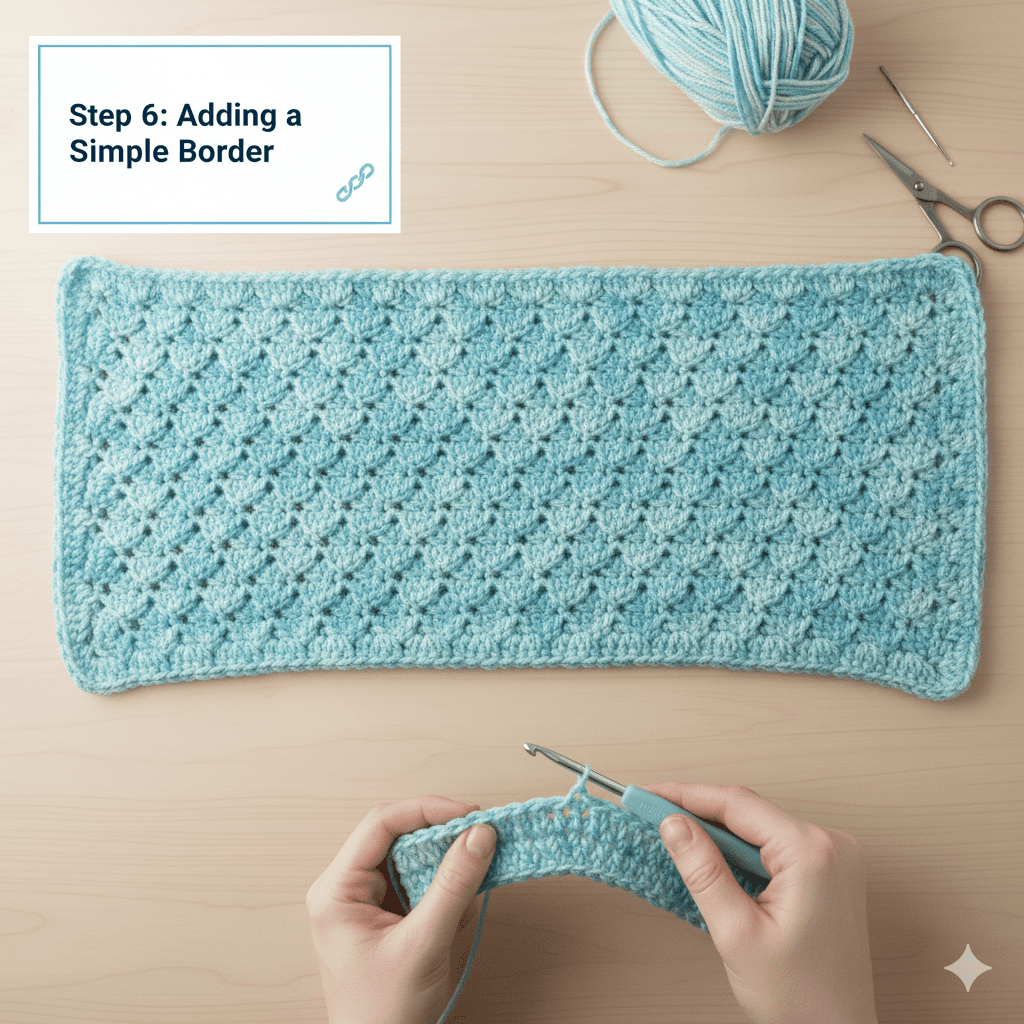
Step 6: Adding a Simple Border (Optional)
A simple border can give your blanket a polished finish.
- Once your blanket is the desired length, do not fasten off.
- ch 1, and work sc evenly all around the entire blanket. Aim for 1 sc in each stitch along the top and bottom edges, and 2 sc for every 3 rows along the sides.
- In each corner, work (sc, ch 1, sc) into the same stitch to create a neat turn.
- Join with a slip stitch to the first sc when you’ve worked your way around.
Your beautiful handmade baby blanket is complete!